06 Apr It’s Time to De-winterize Your RV!
The weather is getting warmer, the snow is melting, and it’s almost time to get your RV back out on the road. Before you take your rig out for its first spring camping trip, be sure to check out our guide to de-winterizing your RV to get it clean and in tip-top shape. Then, book with Lake George Campsites, for some of the best RV sites in Lake George!
Check the tires.
During winter, your tires will lose air pressure, especially if you store your rig outdoors or in a cold environment. Driving with underinflated tires can be dangerous, so be sure to use a tire pressure gauge to check all your tires (including the spare) and fill them with the appropriate amount of air before you hit the road. If you aren’t sure what the correct tire pressure is for your RV, you can find it in your owner’s manual.
Examine the exterior and hose it down.
Do a brief but thorough visual inspection of the exterior of the vehicle. You want to look for any damage, cracks, or visible leaks. Pay particular attention to the roof area, and check for any evidence of rodents. Check the weatherstripping around all doors and windows and repair any cracked or peeling sealant.
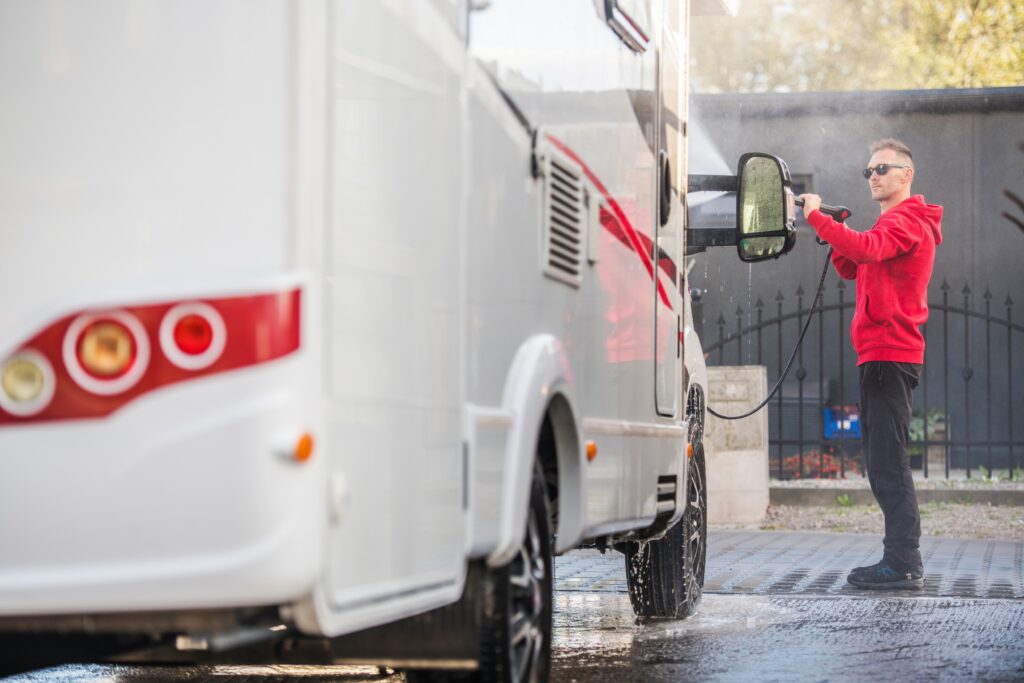
Hose down the exterior of your RV so it’s squeaky clean for the start of camping season. You can use a garden hose or a pressure washer (make sure to use a low setting so as not to cause damage).
Check on the battery charge.
Your RV batteries will likely lose a percentage of their charge while in storage if you haven’t charged them every month. Tip for next winter: keep your batteries charged during storage. You’ll not only be ready to go in the spring, but it will also help extend your batteries’ lifespans.
Disconnect your batteries from electricity and use a voltmeter to check on their charge. An 80% state of charge for a 12-volt battery is 12.5 volts, and an 80% state of charge for a 6-volt battery is 6.25 volts. Be sure to let your battery charge entirely before driving your RV.
After fully charging the battery, check the water levels and add distilled water if necessary to reach the proper level. Then it’s time to reinstall your batteries. Make sure they are connected securely and don’t hesitate to have a professional do this if you aren’t confident in your skills.

Flush and sanitize the water system.
When you are on the road, you rely on your water system for everything from cooking to drinking, washing dishes, and showering. De-winterizing your water is crucial, especially if you added antifreeze into the system to prevent the pipes from freezing during the wintertime. The antifreeze must be flushed out of the system so your water is safe and clean before using it.
Step one is to drain the tank and add potable water to the freshwater holding tank. After that, open all faucets inside your RV and let the water run through the system for a few minutes. Flush the toilet a few times.
Once the water comes out clear, turn off all faucets and close the pump. Be sure to replace any water filter cartridges you removed for storage and taste-taste the water. If it doesn’t taste right, sprinkle baking soda into each train and flush the system until it tastes ok. You also want to pay attention to the water pressure while running the water to make sure that looks ok.
After you have de-winterized your water system, it is time to sanitize it. To do this, you simply run bleach through your water system to eliminate any bacteria or mold that built up while your RV is in storage. Measure ¼ cup of household bleach for every 15 gallons your fresh water tank holds. Mix the bleach with water and pour it into your tank.
Then run the water until you can smell bleach and let it sit in the system for several hours. After that, drain the water from the system, refill the tank with potable water, and flush the system until you no longer smell bleach.
Check the engine.
You should inspect your RV engine by checking fluid levels and ensuring everything is operational. Start the engine and verify that the dash lights, headlights, taillights, and windshield wipers function as they should. If any fluid levels are low, top them off or have your RV serviced.
Do a deep clean of the interior.
Air it out! Open up all the windows and roof vents to ensure they are working properly, and let fresh air in as you clean the interior.
Vacuum all the floors and inside any cabinets to eliminate all the dust. Wash the windows and window screens, and disinfect all surfaces inside the RV.

Plan your next RV adventure at Lake George Campsites.
Now that your rig is inspected, cleaned, and ready to roll, it’s time to hit the road and head to Lake George Campsites! We’ve got everything you need for a memorable family vacation.

