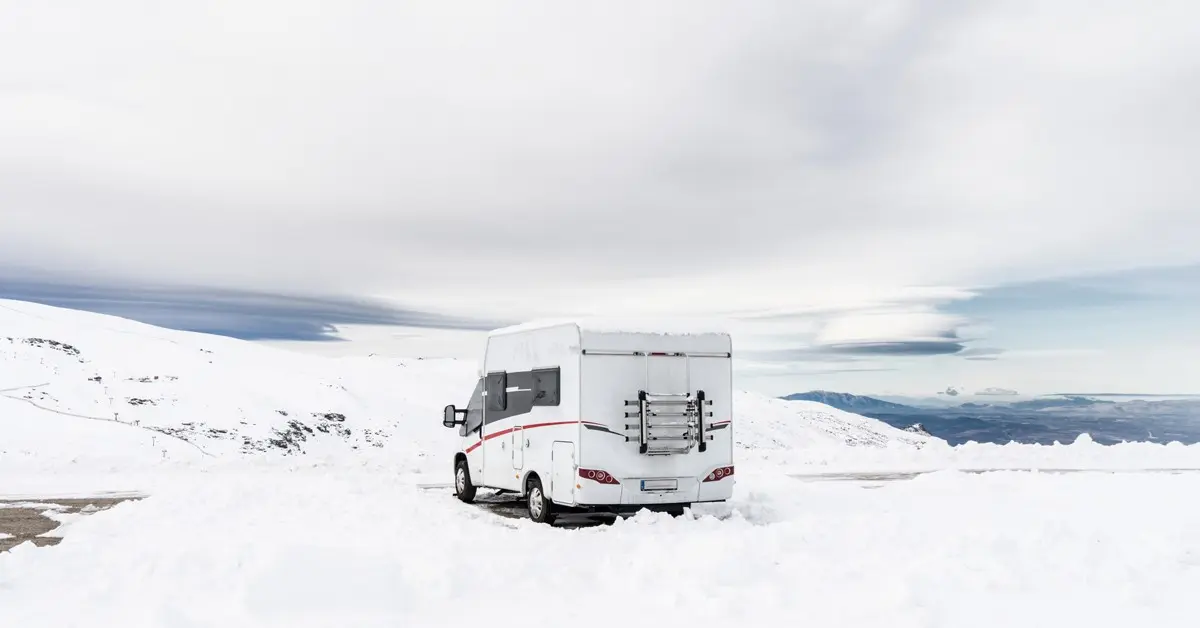
08 Nov Tips for Winterizing Your RV or Camper
The temperatures are getting colder, and the days are getting shorter…winter is coming. If you own an RV, it’s time to start thinking about winterizing it to protect it from the elements. We’ve got you covered with some great tips on how to make sure your RV survives the cold weather, and you don’t have to spend unwanted money on repairs when things thaw out in the springtime.
Before you get started on the winterization process, here’s a list of the tools and supplies that you’ll want to have on hand:
- RV user manual
- Air compressor
- RV winterization kit
- Antifreeze (make sure it’s RV-safe)
- Siphon kit (if your camper did not come equipped)
- Power drill (preferably cordless)
- Sewer hose
- Flashlight
- Ratchet and or/wrench
- Funnel
- Plumber’s tape
- Pliers
- Cleaning wand
- Rubber gloves
Now that you have all of your tools and supplies collected, it’s time to get started.
Step one: drain and flush your black and gray water tanks.
You DO NOT want to let wastewater sit in your tanks all winter long. Along with being a breeding ground for bacteria, the water can freeze/expand and cause damage. Be sure to train both your black water and gray water tanks and clean them both thoroughly afterward.
Step two: drain and flush your water heater.
You will also need to get the water out of your water heater before winter. Make sure it is off and cooled down properly before you begin this step. Then, hook up city water to your RV with the water turned off.
Remove the drain plug and open the pressure relief valve, which will let the water drain out. Once drained, turn the water pressure back on and flush out any remaining sediment for several minutes.
Step three: bypass the water heater.
You don’t want antifreeze getting into the water heater, so you need to make sure you bypass it before adding any in. Keep in mind that some RVs may already have a bypass installed.
Once you locate the water heater, there will likely be an access panel that you need to remove first. Once you have done that, adjust the valves to properly bypass the water heater.
Step four: drain the fresh water tank and low point drains.
Make sure the water pressure is off first, then remove the plug and train your freshwater tank. Open the faucets to help water flow. When you are done, be sure to close all the faucets back up and re-plug the low-point drains.
Step five: locate the water pump.
Attach the siphoning kit and place it inside the gallon of antifreeze (make sure it’s RV-safe). Open the valve, turn on the water pump, and allow the antifreeze to flow through the RV’s water system.
Step six: open external valves and faucets.
Open low-point drain valves or loosen low-point drain plugs to allow water to run out. You want to do this until the water turns pink – that’s the sign that the antifreeze is making its way through the pipes. Once you see pink, close the valves or retighten the plugs. Turn on outside showers or faucets if you have them, running hot first until the water turns pink, then close and repeat with cold.
Step seven: flush out all internal faucets, showers, and toilets.
Repeat the same process from step six with all internal faucets, showers, and toilets. Starting with hot until it runs pink, closing and repeating with cold. For the toilets, keep flushing until you see the antifreeze.
Step eight: pour antifreeze down p-traps.
Pour an additional cup of antifreeze down the drains of all sinks, showers, and toilets inside your RV to prevent frozen pipes over the winter. As a final step, double-check that the water heater’s heating element is shut off and all faucets are closed.
A few other tips and tricks.
- If you don’t feel comfortable winterizing your RV on your own, there are plenty of professionals who will do it for you. Check your local RV dealers or camping stores!
- Check your RV owner’s manual for any instructions on winterization that are specific to the model that you have. Every RV class is different.
- Make sure you clear out any food, both perishable and non-perishable. You don’t want to attract mice and bugs.
- Remove batteries from all small appliances.
- Make sure all electrical systems are turned off – water pump, water heater, appliances, main circuit breaker, etc.
- Take weight off your tires by parking on plank or blocks.
- Cover your tires to prevent cracks and dry rot.
- Cover your RV with a breathable cover to prevent mold and mildew.
- Do a thorough cleaning of your RV before you put it into storage for the season – you will be glad you did come spring! This will also help deter pests who are attracted to food crumbs.
- Use steel wool to block the exhaust pipe to prevent any rodents from getting in.
- If you are storing your RV outside, snow will need to be cleaned off the roof – it can’t hold the weight of it. Clean it off as soon as possible using a step ladder and a shovel.
Look ahead to spring.
Our seasonal campground in the Adirondacks features 250 camping and RV sites located within walking distance of many popular Lake George attractions. Those looking for campgrounds with RV hookups near Queensbury, NY will be happy to know that the majority of our RV sites include full hookups with 30-amp service; our Z Field and W sites have 50-amp. We have water/electric and can accommodate fifth wheels, motor homes, trailers, truck campers, vans, toy haulers, tent trailers, and hybrid campers. On the campground property, you’ll find a dump station, propane, a dishwashing station, a dumpster, restrooms/showers (including an ADA-compliant bathroom), and laundry facilities for added convenience. We also offer seasonal sites for those interested in seasonal campgrounds in the Adirondacks.
We reopen for the 2024 season on May 1. Make Lake George Campsites your Lake George family camping destination!

